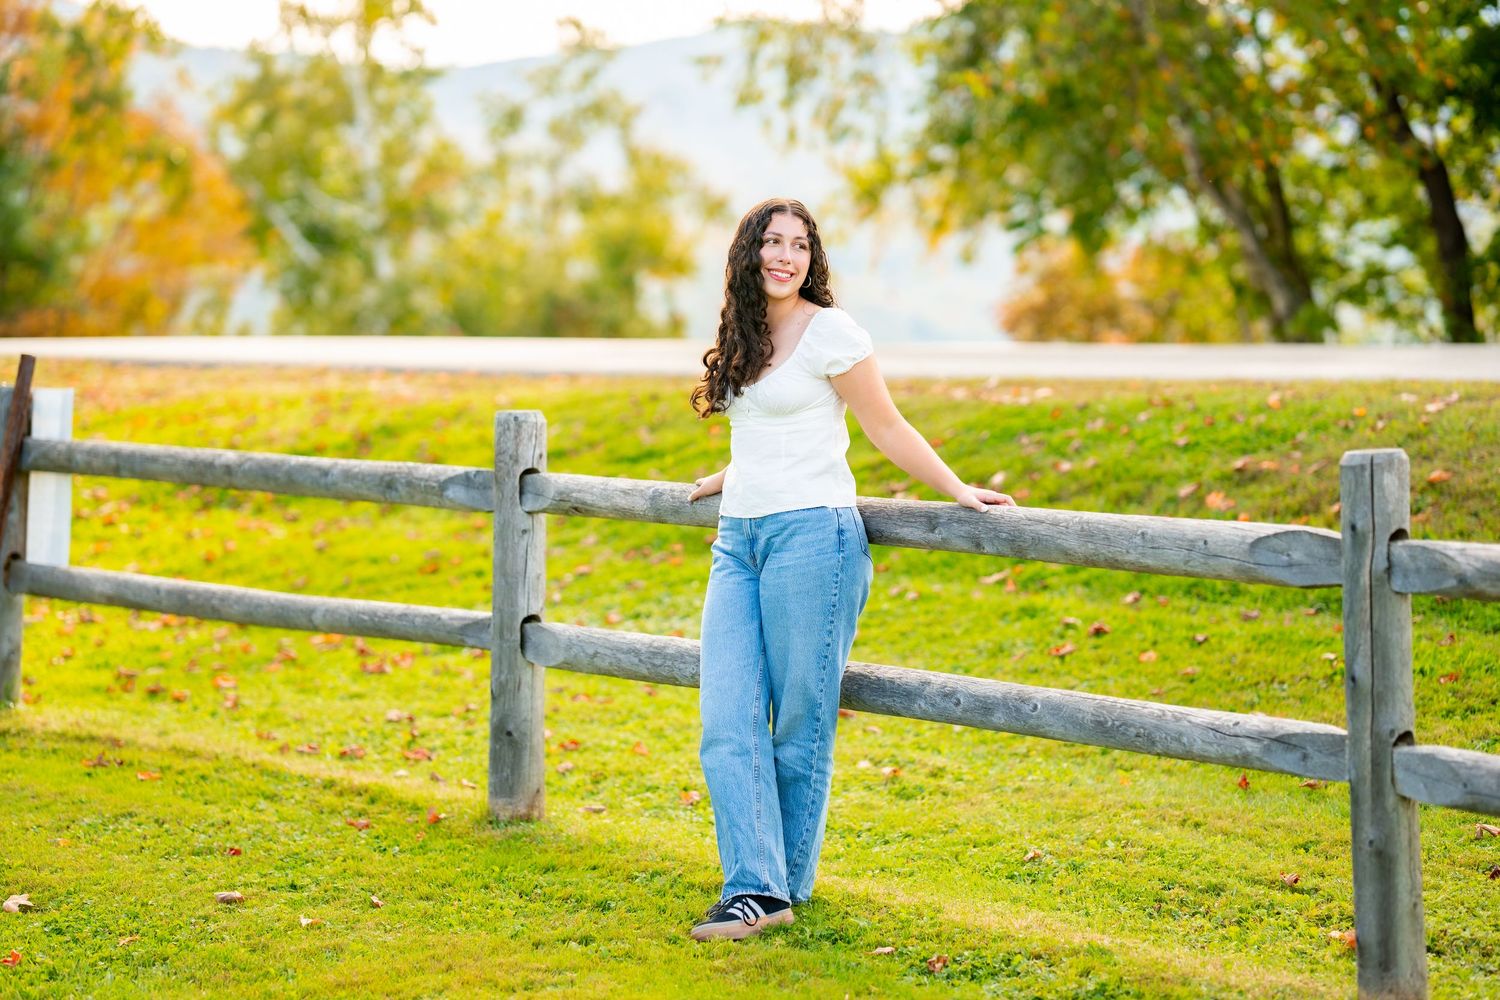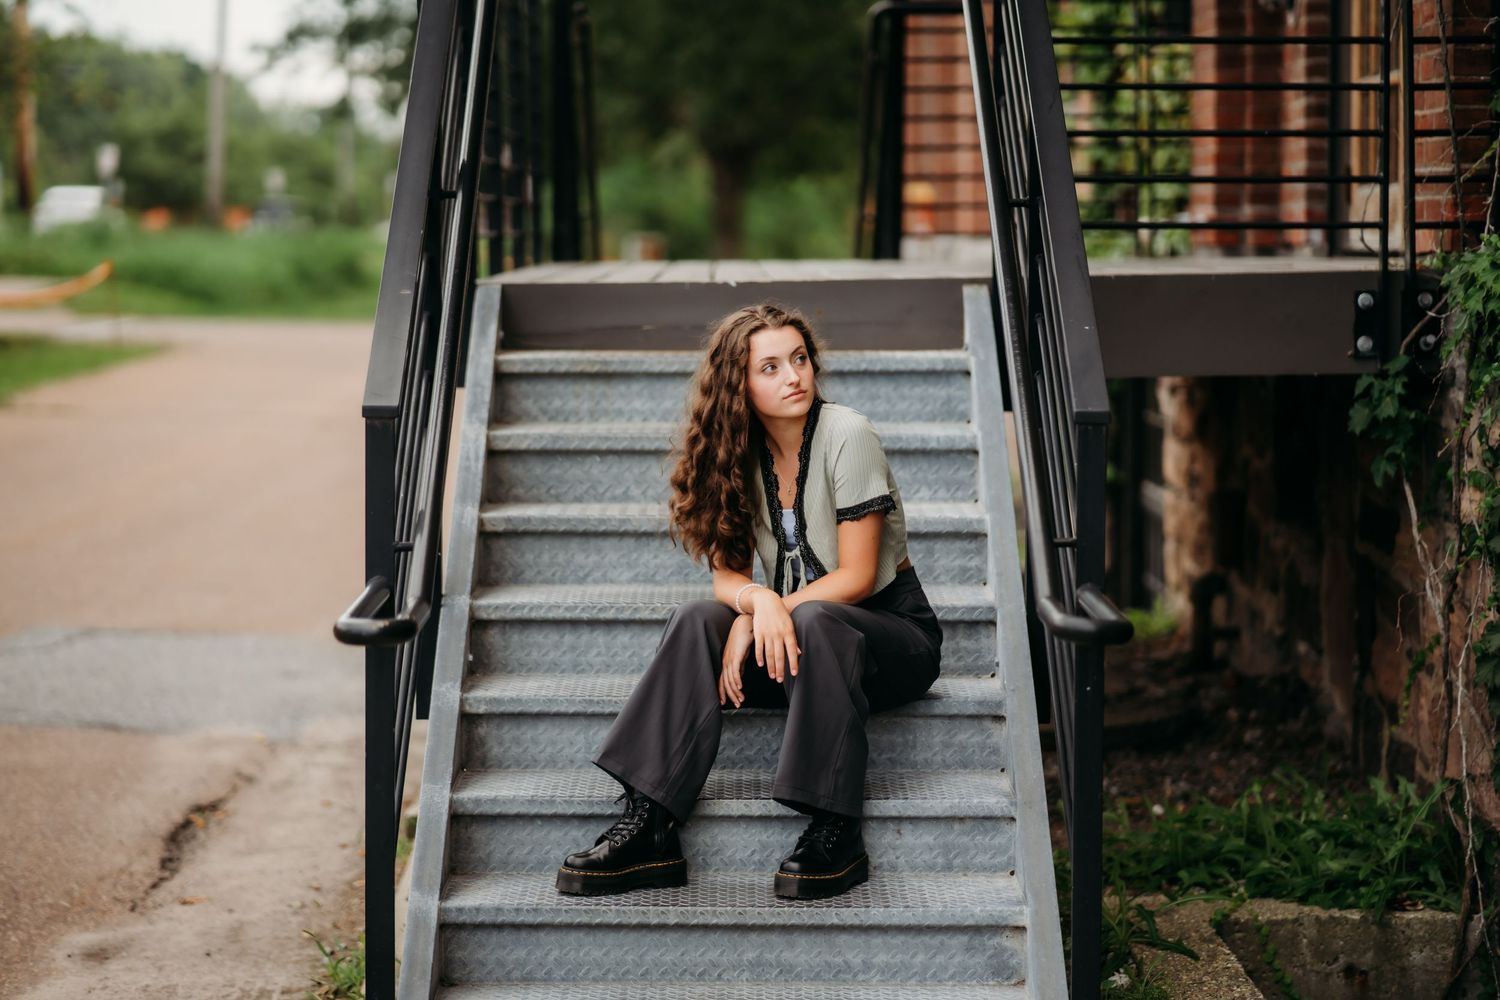

Your gallery is officially here! 🎉
Before you immediately download every photo, send the link to your entire family, and start planning which ones deserve a spot on the wall (all completely understandable), there are a few things you should know about accessing, downloading, saving, printing, and sharing your images.
I go over a lot of this information at the end of your session, but let's be honest—that was a few weeks ago, and I absolutely do not expect you to remember everything I threw at you!
So, consider this your one-stop guide to your finished gallery. Bookmark it, send it to Mom, Dad, Grandma, or whoever else needs it, and come back anytime you have questions about what to do with your images.
Accessing & Sharing Your Gallery
Your finished gallery is delivered through Pixieset, the same system you used throughout the booking process for your contract, questionnaire, invoices, and other session information.
Your gallery email includes a link to your photographs along with the password you'll need to access them. The password is simply an added layer of security to help keep your images private.
Here's the important part: access isn't limited to the email address you used when you booked your session.
If you'd like to share your gallery with parents, grandparents, friends, or other family members, you can send them the gallery link and password. They can enter their own email address when prompted and use the password you've shared with them to access the gallery.
Just remember: anyone you give the password to can access your gallery, so share accordingly!
Navigating Your Gallery
When you first open your gallery, Pixieset will display a few helpful pop-up cards showing you how everything works. I highly recommend taking a second to read through them instead of immediately clicking "X" on everything like we all normally do. I know our habits. 😂
From your gallery, you can view your images and download either individual photographs or the entire gallery.
While you're absolutely welcome to download individual favorites, I strongly recommend downloading your entire gallery at least once—and then backing it up somewhere safe.
Which Download Size Should I Choose?
When you download your photographs, you'll see several resolution options. Don't panic. You do not need a degree in pixels to figure this out.
Here's the easiest way to think about them:
Original Resolution: This gives you the full dimensions of the files I uploaded. I recommend downloading your entire gallery at Original Resolution for your permanent backup. It's also your best choice when maximum resolution matters, such as large prints, banners, posters, or certain school submissions.
High Resolution (3600px): An excellent option for most printing needs. These files maintain plenty of detail while being somewhat smaller and easier to manage than the Original Resolution files.
Web Size (2048px, 1024px, or 640px): These smaller files are intended primarily for digital use. They're great for social media, websites, profile pictures, and other online sharing, but I don't recommend keeping a web-size version as your only copy of an image.
My easiest rule: Download the Original Resolution files for safekeeping. You can always make a large file smaller later; you can't magically add all that detail back into a small web-size file when you suddenly need a giant senior-night banner.
Downloading Your Entire Gallery
If you download your full gallery at once—and I recommend that you do—your images will be packaged together as a ZIP file.
A ZIP file is simply a compressed folder that allows a large number of files to be packaged together for downloading. Your photos aren't permanently compressed or trapped in some weird computer format.
Follow the prompts from Pixieset to download the ZIP file to your computer. Once it's downloaded, locate the file and use your computer's option to Extract, Unzip, or Extract All.
Once extracted, you'll have a regular folder containing your photographs.
If you've never worked with a ZIP file before, don't stress! Search "how to unzip a file on [your type of computer]" on Google or YouTube and you'll find plenty of quick tutorials that will walk you through it.
Please Back Up Your Photos
Once you've downloaded your gallery, please save a complete copy somewhere safe.
An external hard drive or flash drive is a great option. Even better, keep your photographs in more than one place—for example, one physical backup and one reputable cloud-storage service.
I currently keep delivered galleries available through my studio management system and haven't needed to remove old galleries. However, your online gallery should never be treated as your permanent backup.
If I ever reach a point where I need to remove your gallery, I will reach out beforehand so you have an opportunity to make sure you've downloaded everything you need.
Still, technology is technology. Computers die. Hard drives fail. Accounts change. Flash drives disappear into whatever alternate dimension also contains all of our missing socks.
Please keep your own backup of the photographs that matter to you.
Submitting Your Photo to Your School
Every school handles senior-photo submissions a little differently, so always follow the instructions provided by your school first.
Your school may provide requirements for file size, dimensions, orientation, deadline, naming conventions, or how the photograph needs to be submitted.
Whenever possible, I recommend downloading the Original Resolution or appropriate High Resolution file directly to a computer and uploading that file to the school's submission system.
Avoid passing the photograph through multiple apps before submitting it. Texting an image, taking a screenshot, sending it through social media, or using certain sharing methods can resize or compress the file.
And please, for the love of pixels, do not submit a screenshot of your senior photo. Download the actual file. Your future yearbook page will thank you.
Using the proper file becomes especially important if your school plans to use your photograph for more than the yearbook. Some schools create senior banners, posters, signs, slideshows, or other large-format displays where having a high-quality image really matters.
If your school gives you requirements and you aren't sure which file to submit, send the information to me! I'm happy to help you determine which version you need.
Let's Talk About Printing
Here's where I usually make people laugh:
I don't sell prints.
Why? Because having me act as the middleman usually means more expense for you and more work for me, and quite frankly, neither of us needs that kind of negativity in our lives.
You receive your digital files so you have the flexibility to choose what you'd like to print, where you'd like to print it, and how much you'd like to spend.
However, I strongly recommend using a professional photo lab rather than printing professional photographs at a pharmacy or quick-print counter.
Does where I print really matter?
It can!
You invested in professional photographs, and the printer, paper, and processes used to turn those digital files into physical photographs can affect the final result.
Professional photo labs specialize in photographic printing and typically provide better control over color reproduction, photographic papers, print surfaces, consistency, and large-format products.
Consumer quick-print services are convenient, but the final print may reproduce colors, skin tones, contrast, brightness, and fine details differently than the professionally edited image you see on your screen.
In other words: I spent a lot of time making sure your skin doesn't randomly look green. Let's not let a questionable printer undo our hard work.
Where Should I Order Prints?
There are some fantastic professional photo labs available online, and you aren't limited to standard prints! Depending on the lab, you can order things like traditional prints, large-format prints, canvas and wall art, framed photographs, graduation announcements, cards, albums, photo books, and personalized photo gifts.
Some professional labs I recommend checking out include Mpix, White House Custom Colour (WHCC), Miller's Professional Imaging, and ProDPI.
Shop around! Different labs offer different products, finishes, prices, and ordering requirements, so you can find the one that works best for what you're creating.
And yes, you have my full permission to put your senior's face on a mug and make Grandma cry. That's what senior pictures are for.
And Finally—You Can Always Ask Me!
Your gallery being delivered doesn't mean I disappear into the photographer abyss.
If you're having trouble downloading your images, can't figure out which resolution you need, aren't sure what file to submit to your school, want advice about printing, or have any other questions about your photographs, please reach out to me.
I'd much rather you ask than guess—especially when it comes to something important like a yearbook submission or large print.
Your photographs are meant to be downloaded, shared, printed, displayed, gifted, and enjoyed. Don't let them live forever in an online gallery.
Download them. Back them up. Print your favorites. Give Grandma the framed one. Make the graduation announcements. Put your face on a mug if the spirit moves you.
Most importantly, enjoy them. That's what they're there for. ❤️